5/28/31 workday
1st job:
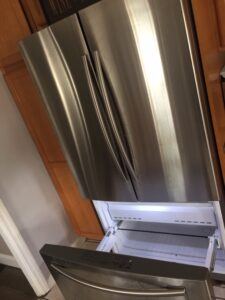
This job was a samsung twin cooling refrigerator. Twin cooling is when the refrigerator has two sets of evaporator coils and defrost systems. They can be a pain to diagnose on the fly if you did not do prior research the night before in regards to the particular model, if you don’t know where the correct board is located or how to put the the refrigerator in diagnostic mode, if you rely strictly on disassembly and doing an OHM test on these models it is a pain.
Anyways this appointment was booked last minute so I had to do the disassembly method it wasn’t too bad…… The pictures below illustrate me removing the door and removing the evaporator cover to expose the evaporator coils….

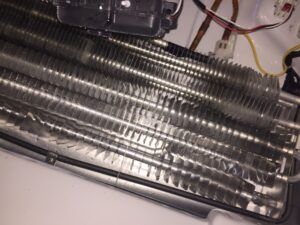
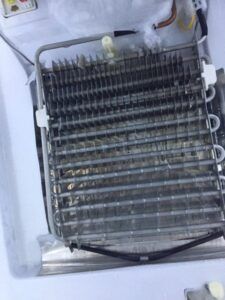
First thing I did was check the evaporator coil in the freezer out of habit, I usually check the evaporator coils on a refrigerator before doing any kind of voltage or OHMS test to eliminate the probability of a sealed system issue. Sealed system issues are identified via the frost pattern or lack thereof on the evaporator coil.
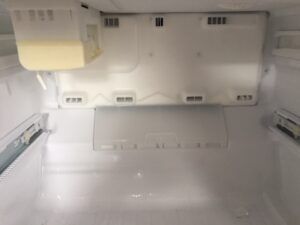
The freezer evaporator was bare, to be thorough I checked the one inside the fresh food compartment because I saw ice build up on the sides which is odd if there is a sealed system issue.
So I remove all the shelves inside the fresh food compartment and pull back the evaporator cover to expose the coil, this coil was bare on top, with slight ice on the bottom coils and a big ball of ice on top….
This indicates that the sealed system issue was just beginning to develop its way through the fresh food evaporator, but had completely developed in the freezer compartment.
I told this customer the potential costs of such a repair and she opted to replace case closed.
2nd Job:
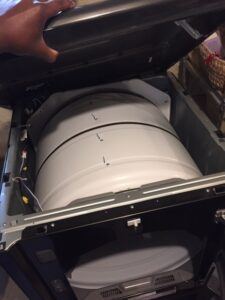
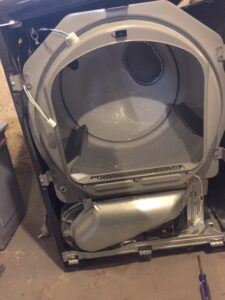
This was a samsung dryer, the customer complained of a bad sounding noise coming when the dryer was being ran, upon hearing it I knew something was stuck in the exhaust pipe, or the blower wheel. So I immediately go to disassemble…

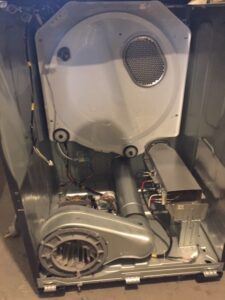
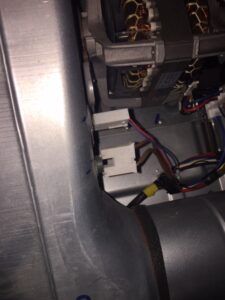
I remove the blower assembly and motor (last picture) in its entirety to look inside the exhaust pipe nothing was there, I was expecting a dead animal to be honest but this wasn’t the case.
It seemed that the lint that was trapped inside the blower wheel (second to last picture) was the cause of the noise, it was rather hard it seemed like cardboard or something.
Anyways I removed it and that solved the issue….. Case closed…
3rd job:
This job was a GE Freestanding range, the customer complaint was that the oven was not heating…
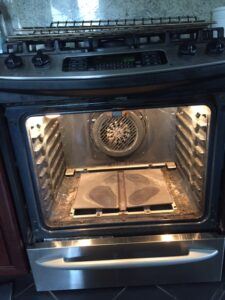
In this model it could be 4 things, the igniter, the gas valve, the main board, or the thermostat….
Usually when an oven does not heat it is the igniter itself, freestanding ranges can be a pain to diagnose from the board due to the design, often times the board is located underneath the gas burners and to remove the entire thing can take a long time.
With freestanding ranges I avoid unnecessary disassembly because it is time consuming and often times unproductive as there are many wires in these things and it can be difficult to ascertain where to put your leads on the spot. Prior day homework and research is imperative with these kinds of models.
Anyways to cut my time short I just go to immediately replace the igniter to see if it will work, if not I would have had to do more in depth diagnosis.
Once I disassembled the oven and tested the igniter it worked so I was all set. I got paid and left.
4th job:
This job was a simple garbage disposal replacement….
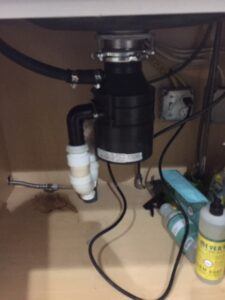
In order to remove a garbage disposal you have to do several things. You have to first remove the dishwasher drain hose from it then you have to remove the disposal from the pipe it is situated inside of by un-tightening the pipe and then you have to unfasten it from the sink using a screw driver to rotate the top piece which connects to the sink.
To install a disposal is the same process in reverse, except you also have to wire in a plug because most of them do not come with a plug, you have to match the white and black wires from the plug to the white and black wires inside the disposal and fasten them with a wire nut, you then have to screw in the ground wire (green) to the disposal as well.
After you do this you are good to go!