06/01/2021 workday
1st job:
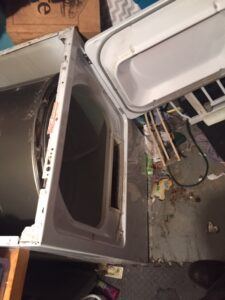
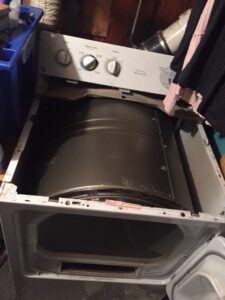
This job I tried to change the wash plate of a whirlpool cabrio/ Maytag Bravos, this was more than I bargained for, I spent 2 1/2 hours trying to do the job and couldn’t get it done.
The bolt that screws in the wash plate had bonded to the gear case…… I had to destroy the wash plate around the bolt to access it, I tried wd-40, my socket wrench, an impact drive, I hit it with my mallet, I tried everything under the sun but nothing worked…..
In this case the only option would be to destroy the bolt and in the process damage the gear case, in that case another gear case would be needed to be swapped in……. At that point we are well past the cost of a new washer in parts and labor. I had to abandon this job, if the bolt would have removed it would have been a simple job, but often times it isn’t because the bolt can be stuck in there good, sometimes it can be removed other times its best to move on…..
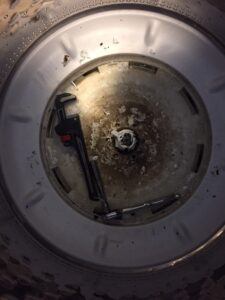
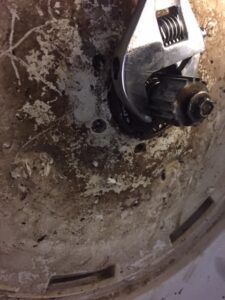
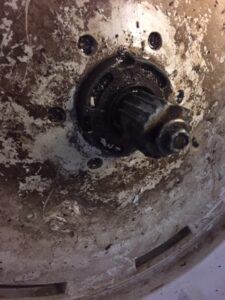
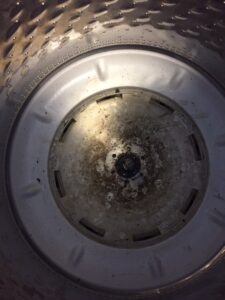
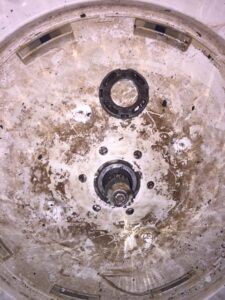
Here are the photos of this attempt……..
2nd job:
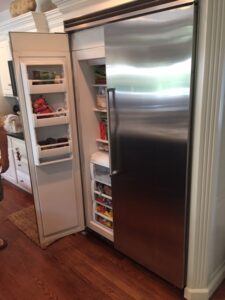
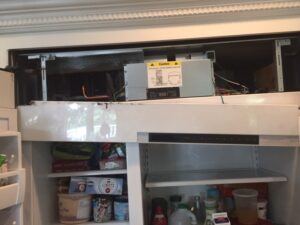
This job was a high end viking refrigerator, simple case of all of the lights not coming on, first thing I did was remove the control panel to have access to the wiring, and the boards. In this model the lights plug directly into the board, if the board was faulty the whole fridge would not operate so that is out of the question.
Often times this requires a simple unplug and reset to get the lights to come back on…..I cut the power supply to the fridge, and then I unplug the freezer compartment lights and the fresh food compartment lights from the main board and wait. I turn back on the power supply and notice only the freezer lights come back on.
So then I remove the light compartment and unplug the wires off of the lights themselves. I wait 60 seconds and plug back in, 1 light came back on however the other one was broken internally…
Customer just needs to swap it out and he’s good to go, case closed.
3rd job:
This job was relatively simple, only because I am experienced and have done this job dozens of times over..
I had to change the dryer belt on a old school GE dryer, this job when I first attempted as a fledgeling appliance repairman took me 2-3 hours due to sheer inexperience. I did this job roughly 20 minutes….
To change the dryer belt on this model, first you remove the top, then you remove the front, and then you remove the broken belt. Afterwards you take the new belt and drape it around the drum, you have to add the belt to the motor pulley, and then pull the idler pulley to the right of it and let it sit on the idler pulley to make tension otherwise the drum wont spin.
After you do this you simply reassemble.
What would take a novice so long in regards to this particular model is doing unnecessary steps such as removing the drum, or after removing the drum fiddling around with it due to uncertainty whether it is secured properly because of the drum bearing in this model, most dryers don’t have a drum bearing they sit on rollers, but this model has a bearing that slides into a hole and is supported by the door.
When you are new you are going to be cautious about this because you don’t want to make mistakes, worse off you may even remove the bearing like I did, slide it in the hole, and then dry to reattach the drum to the bearing itself, combined with a lack of knowledge of disassembly and proper procedure you will be looking at youtube while attempting this….. Making it take much longer than it should.
As you become more mechanically inclined it will be easy….